Iframely (Nodebb)
-
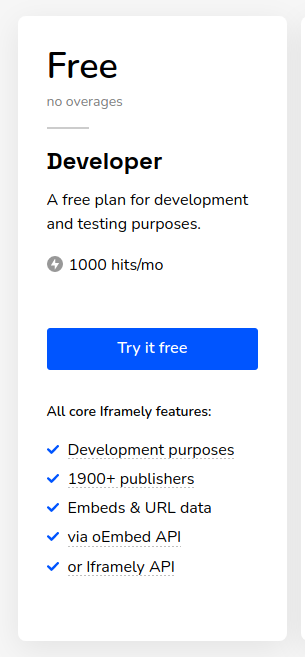
@jac I had a quick look at this, and whilst it seems everything is in order in terms of API key etc, long-term, this plugin in not “free” (although there is a Developer edition which is limited to 10,000 hits per month).
There’s also a recommendation that you self-host - see https://iframely.com/docs/host
@phenomlab said in Iframely (Nodebb):
There’s also a recommendation that you self-host - see https://iframely.com/docs/host
Ill be honest I have no idea how this would work
 .
. -
@phenomlab said in Iframely (Nodebb):
There’s also a recommendation that you self-host - see https://iframely.com/docs/host
Ill be honest I have no idea how this would work
.@jac I’m not entirely sure myself. I’ll need to take a better look.
Mark – Founder, Phenomlab Ltd
Executive IT & Security Leadership
Phenomlab Ltd -
@phenomlab Thanks mate, I have no idea reading that how it can be hosted.
-
@phenomlab Thanks mate, I have no idea reading that how it can be hosted.
@jac again this has stopped working, I wonder if it’s anything to do with nodebb not being updated to the latest version…

-
@jac again this has stopped working, I wonder if it’s anything to do with nodebb not being updated to the latest version…
@jac said in Iframely (Nodebb):
@jac again this has stopped working, I wonder if it’s anything to do with nodebb not being updated to the latest version…
Maybe I should look at self hosting
-
@jac said in Iframely (Nodebb):
@jac again this has stopped working, I wonder if it’s anything to do with nodebb not being updated to the latest version…
Maybe I should look at self hosting
@jac Potentially, yes. I know there is a limit, but in all likelihood it’s probably more about the IP address you are using connect to their services - they may have it blacklisted. Do you know if any error messages are displayed in the browser console ?
-
@phenomlab Thanks mate, although I have used this since the forum was set up. I believe the API key etc are in place.
@jac I’m probably going to try this plugin here as I have a need for it (well, more of a desire actually), so I’ll let you know how my testing goes.
-
@jac having tested this, it appears to work fine, but there is one main caveat in the sense that it works only for raw URL’s inserted into the post.
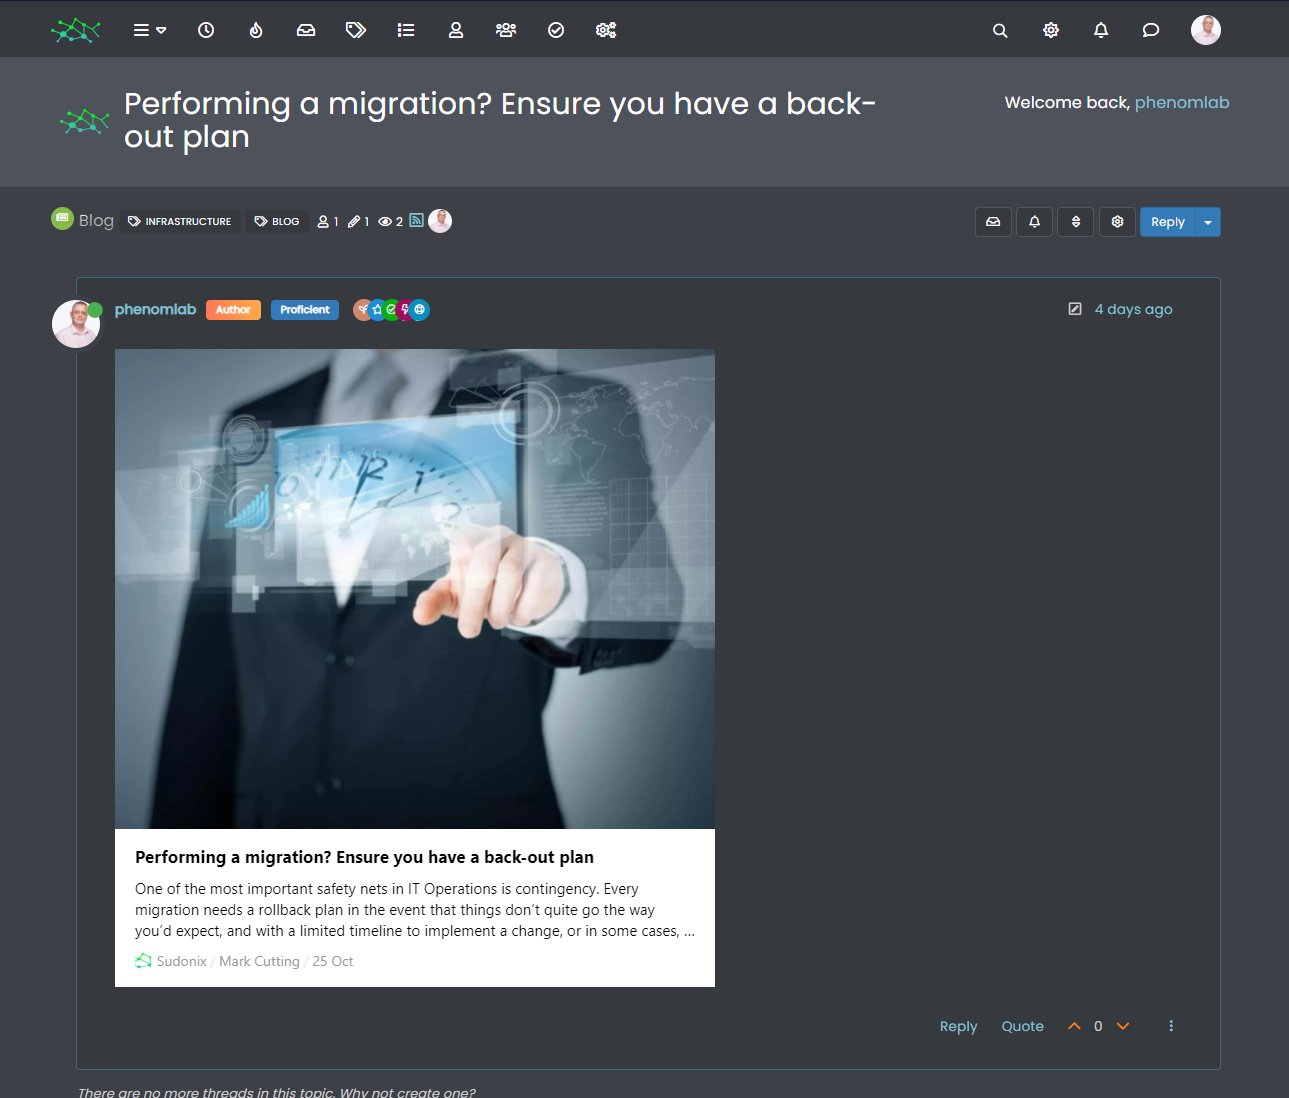
So, if you have a link inserted and bound to a word, then that won’t be detected. This looks like quite a nice plugin, so it can stay
") !
!Mark – Founder, Phenomlab Ltd
Executive IT & Security Leadership
Phenomlab Ltd -
@jac I created a new API key using my account (you can have multiple keys, so not an issue for the moment), and this seems to work fine on your site
I can only assume that there is an issue with how you’ve configured iFramely under your own account. I’ll close this, as this isn’t a fault with the plugin itself.
Mark – Founder, Phenomlab Ltd
Executive IT & Security Leadership
Phenomlab Ltd -
 undefined phenomlab has marked this topic as solved on
-
@jac I created a new API key using my account (you can have multiple keys, so not an issue for the moment), and this seems to work fine on your site
I can only assume that there is an issue with how you’ve configured iFramely under your own account. I’ll close this, as this isn’t a fault with the plugin itself.
@phenomlab said in Iframely (Nodebb):
@jac I created a new API key using my account (you can have multiple keys, so not an issue for the moment), and this seems to work fine on your site
I can only assume that there is an issue with how you’ve configured iFramely under your own account. I’ll close this, as this isn’t a fault with the plugin itself.
Just seen that it’s working, many thanks for that pal, I’ll keep an eye on it


 .
. -
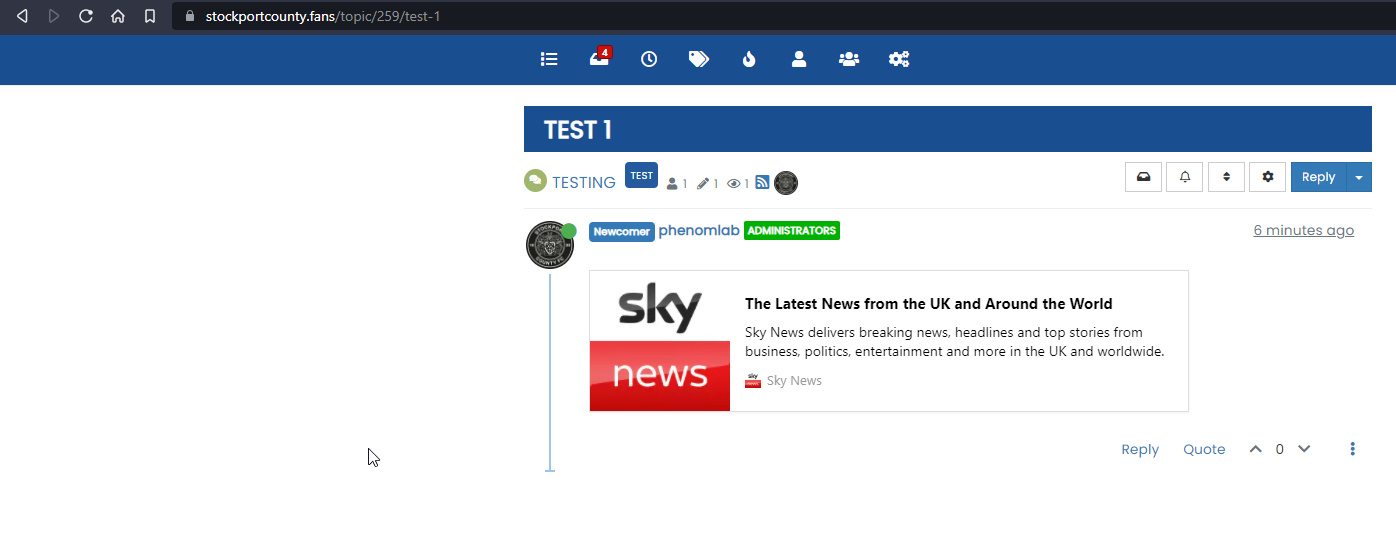
@jac having tested this, it appears to work fine, but there is one main caveat in the sense that it works only for raw URL’s inserted into the post.
So, if you have a link inserted and bound to a word, then that won’t be detected. This looks like quite a nice plugin, so it can stay
!@phenomlab said in Iframely (Nodebb):
So, if you have a link inserted and bound to a word, then that won’t be detected. This looks like quite a nice plugin, so it can stay !
Absolutely, looks tons better!
-
@phenomlab said in Iframely (Nodebb):
So, if you have a link inserted and bound to a word, then that won’t be detected. This looks like quite a nice plugin, so it can stay !
Absolutely, looks tons better!
@jac said in Iframely (Nodebb):
@phenomlab said in Iframely (Nodebb):
So, if you have a link inserted and bound to a word, then that won’t be detected. This looks like quite a nice plugin, so it can stay !
Absolutely, looks tons better!
I don’t know about you mate but they have stopped working on my forum?
Maybe It’s time to self host I do wonder if this would fix the issue.
-
@jac said in Iframely (Nodebb):
@phenomlab said in Iframely (Nodebb):
So, if you have a link inserted and bound to a word, then that won’t be detected. This looks like quite a nice plugin, so it can stay !
Absolutely, looks tons better!
I don’t know about you mate but they have stopped working on my forum?
Maybe It’s time to self host I do wonder if this would fix the issue.
@jac yeah, stopped working for me also so I decided to self host. Was quite painful to setup but I got there in the end and need to put together a guide on how to do it.
I’ve used a subdomain for this based on security requirements and would recommend anyone else looking to self host do the same. The self hosted begin does have some limitations, but works very well for what I need as it’s active on Sudonix
Mark – Founder, Phenomlab Ltd
Executive IT & Security Leadership
Phenomlab Ltd -
@jac yeah, stopped working for me also so I decided to self host. Was quite painful to setup but I got there in the end and need to put together a guide on how to do it.
I’ve used a subdomain for this based on security requirements and would recommend anyone else looking to self host do the same. The self hosted begin does have some limitations, but works very well for what I need as it’s active on Sudonix
@phenomlab said in Iframely (Nodebb):
@jac yeah, stopped working for me also so I decided to self host. Was quite painful to setup but I got there in the end and need to put together a guide on how to do it.
I’ve used a subdomain for this based on security requirements and would recommend anyone else looking to self host do the same. The self hosted begin does have some limitations, but works very well for what I need as it’s active on Sudonix
That’s great mate, I’d also be looking to self host if it has worked out well. A guide will be very useful
. -
@phenomlab said in Iframely (Nodebb):
@jac yeah, stopped working for me also so I decided to self host. Was quite painful to setup but I got there in the end and need to put together a guide on how to do it.
I’ve used a subdomain for this based on security requirements and would recommend anyone else looking to self host do the same. The self hosted begin does have some limitations, but works very well for what I need as it’s active on Sudonix
That’s great mate, I’d also be looking to self host if it has worked out well. A guide will be very useful
.@jac said in Iframely (Nodebb):
@phenomlab said in Iframely (Nodebb):
@jac yeah, stopped working for me also so I decided to self host. Was quite painful to setup but I got there in the end and need to put together a guide on how to do it.
I’ve used a subdomain for this based on security requirements and would recommend anyone else looking to self host do the same. The self hosted begin does have some limitations, but works very well for what I need as it’s active on Sudonix
That’s great mate, I’d also be looking to self host if it has worked out well. A guide will be very useful
.Although at the moment I have no laptop or way or doing any of this so there is no rush.
-
I have seen Iframely have this result for example for URL link ?
It’s a freescript or not ?
If it’s self hosted, he have no limits ?How does it work ?
I would be very interested in using it on my forum, which is why I would like a little more explanation or why not a little tutorial from our friend @phenomlab ha ha
")
PW and WS Spirit alive
-
I have seen Iframely have this result for example for URL link ?
It’s a freescript or not ?
If it’s self hosted, he have no limits ?How does it work ?
I would be very interested in using it on my forum, which is why I would like a little more explanation or why not a little tutorial from our friend @phenomlab ha ha
@DownPW said in Iframely (Nodebb):
It’s a freescript or not ?
Yes, it’s the free (self hosted) version
https://iframely.com/docs/host
Everything you need is in the above document
-
I read the docs a bit and everything is not very clear, especially on the nginx reverse proxy conf for example or the cache or PM2/forever…
I need to do some test to fully understand
PW and WS Spirit alive
-
I read the docs a bit and everything is not very clear, especially on the nginx reverse proxy conf for example or the cache or PM2/forever…
I need to do some test to fully understand
@DownPW The reverse proxy is relatively simple. I’m using the below
        location / {
                proxy_set_header X-Real-IP $remote_addr;
                proxy_set_header X-Forwarded-For $proxy_add_x_forwarded_for;
                proxy_set_header Host $http_host;
                proxy_set_header X-NginX-Proxy true;

                proxy_pass http://127.0.0.1:8061/;
                proxy_redirect off;

                # Socket.IO Support
                proxy_http_version 1.1;
                proxy_set_header Upgrade $http_upgrade;
                proxy_set_header Connection "upgrade";
        }
If you’re not running
MemCachedorRedisthen you can ignore the cache part and just use theNodeJSdefaults. I much prefer PM2 as this provides greater flexibility and control (in my view)Below output from
pm2 status
Mark – Founder, Phenomlab Ltd
Executive IT & Security Leadership
Phenomlab Ltd -
@DownPW The reverse proxy is relatively simple. I’m using the below
        location / {
                proxy_set_header X-Real-IP $remote_addr;
                proxy_set_header X-Forwarded-For $proxy_add_x_forwarded_for;
                proxy_set_header Host $http_host;
                proxy_set_header X-NginX-Proxy true;

                proxy_pass http://127.0.0.1:8061/;
                proxy_redirect off;

                # Socket.IO Support
                proxy_http_version 1.1;
                proxy_set_header Upgrade $http_upgrade;
                proxy_set_header Connection "upgrade";
        }
If you’re not running
MemCachedorRedisthen you can ignore the cache part and just use theNodeJSdefaults. I much prefer PM2 as this provides greater flexibility and control (in my view)Below output from
pm2 statusI have install iframely like the doc, no cache app, no reverse proxy with PM2 and I have not modify config file.
Results? it does not work


something I missing ?
Hello! It looks like you're interested in this conversation, but you don't have an account yet.
Getting fed up of having to scroll through the same posts each visit? When you register for an account, you'll always come back to exactly where you were before, and choose to be notified of new replies (either via email, or push notification). You'll also be able to save bookmarks and upvote posts to show your appreciation to other community members.
With your input, this post could be even better 💗
Register LoginDid this solution help you?
Related Topics
-
Nodebb and emails
Solved Configure -
NodeBB: Creating pages
Solved Configure -
Gettin Erors NodeBB
Solved Configure -
-
-
iFramely self host help
Solved Configure -
-
NodeBB metadata
Solved Configure