NodeBB: Creating pages
-
Hi @phenomlab,
How do I create the pages? I am planning to have pages for About us, Privacy Policy, Terms of Use, etc.
On your site, I can see you have a “link” icon which has a dropdown for individual pages. Something like that is suitable for me also.
Also, I saw that on your Policies page, you had 3 topics grouped into a close-open kind of diaplay. How did you do that?
Thank you! -
Hi @phenomlab,
How do I create the pages? I am planning to have pages for About us, Privacy Policy, Terms of Use, etc.
On your site, I can see you have a “link” icon which has a dropdown for individual pages. Something like that is suitable for me also.
Also, I saw that on your Policies page, you had 3 topics grouped into a close-open kind of diaplay. How did you do that?
Thank you!@mventures You’ll need the custom pages plugin for this
https://community.nodebb.org/topic/1701/nodebb-plugin-custom-pages-custom-static-pages-for-nodebb
-
 undefined phenomlab has marked this topic as solved on
-
Thanks again! Should I wait to install these once the site has been upgraded to V3?
Also, I went through the whole thread. Seems to be a complicated affair. Anyway, is this how it’s done:
- Open Terminal on Mac
- Add this script: npm install nodebb-plugin-custom-pages
What would be the next steps? The referred page doesn’t seem to have that info. Maybe, I missed.
@mventures It’s not as difficult as it sounds. You just need to gain access to your server via SSH (see https://sudonix.com/topic/445/nodebb-upgrading-to-nodebb-v3-x/6?_=1680448676890) then ensure you are in the NodeBB directory.
From there, you can issue that same code, for example
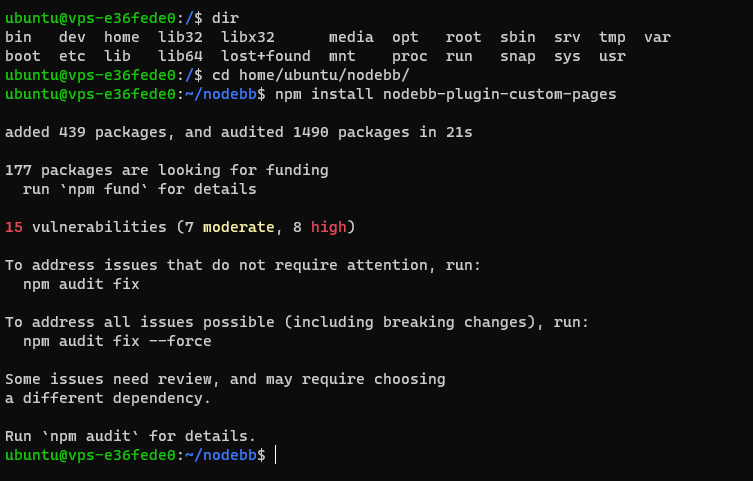
As you can see from the above, I’ve now installed this on your forum. From here, you’ll now need to activate the plugin before you can use it
In your forum, navigate to
/admin/extend/plugins#deactive. You should see the below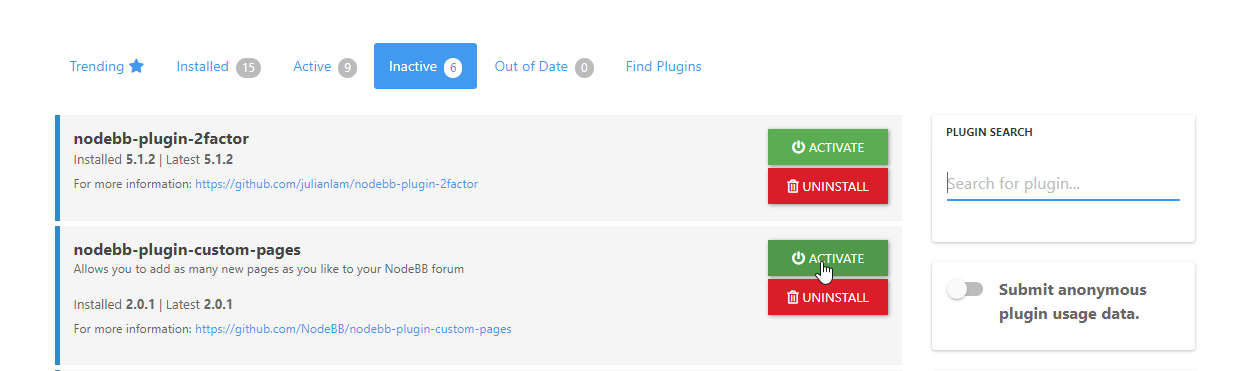
You’ll notice that the new plugin appears in the list, but needs to be activated first before it can be used

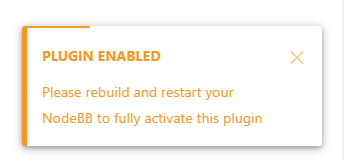
Click Confirm. After a few seconds, NodeBB will tell you that the plugin has been activated, but you need to rebuild and restart before it will work
Now you need to rebuild and restart
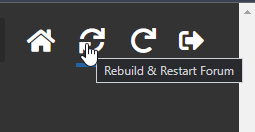
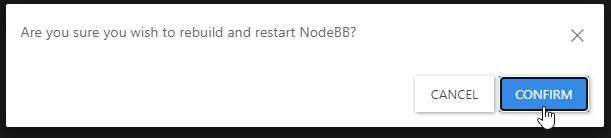
Confirm, and the rebuild/restart process will commence
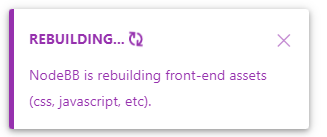
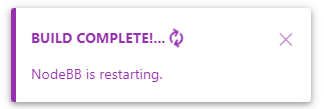
You should then get a self-closing message telling you that the forum has restarted successfully (and can now be used). At this point, you should press F5 in your browser console to reload the page
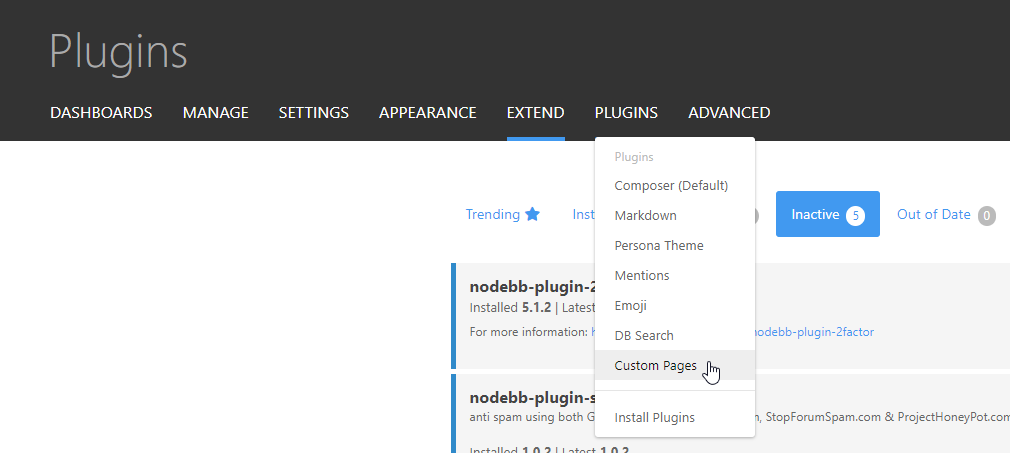
Now in the plugins menu, you should see Custom Pages has been added
That’s it.
Nothing for you to do here, as I’ve already done it on your site
")
Mark – Founder, Phenomlab Ltd
Executive IT & Security Leadership
Phenomlab Ltd -
@mventures It’s not as difficult as it sounds. You just need to gain access to your server via SSH (see https://sudonix.com/topic/445/nodebb-upgrading-to-nodebb-v3-x/6?_=1680448676890) then ensure you are in the NodeBB directory.
From there, you can issue that same code, for example
As you can see from the above, I’ve now installed this on your forum. From here, you’ll now need to activate the plugin before you can use it
In your forum, navigate to
/admin/extend/plugins#deactive. You should see the belowYou’ll notice that the new plugin appears in the list, but needs to be activated first before it can be used
Click Confirm. After a few seconds, NodeBB will tell you that the plugin has been activated, but you need to rebuild and restart before it will work
Now you need to rebuild and restart
Confirm, and the rebuild/restart process will commence
You should then get a self-closing message telling you that the forum has restarted successfully (and can now be used). At this point, you should press F5 in your browser console to reload the page
Now in the plugins menu, you should see Custom Pages has been added
That’s it.
Nothing for you to do here, as I’ve already done it on your site
@phenomlab Thank you so much yet again! Much appreciated.
How do I now add the pages?
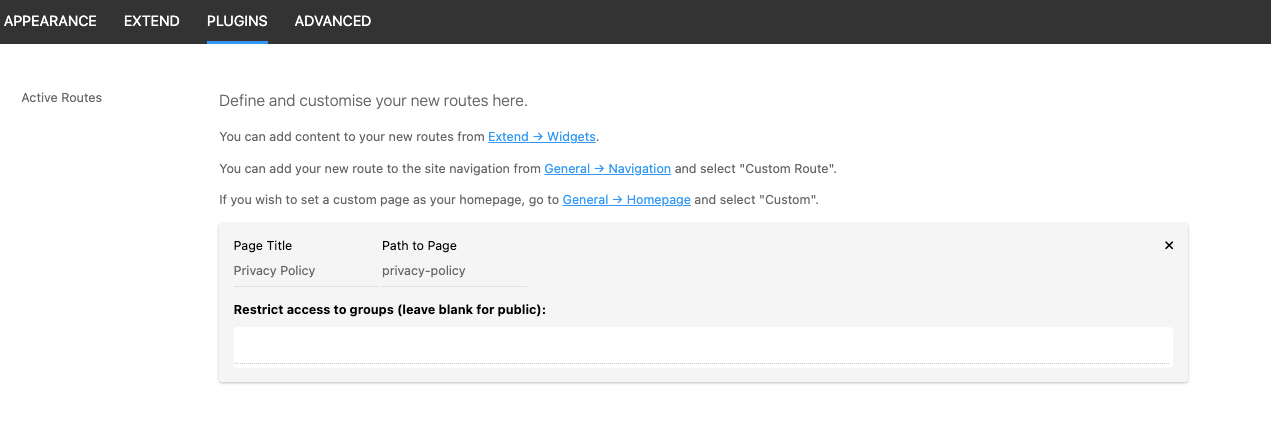
I went to PLUGINS > CUSTOM PAGES & did the below:
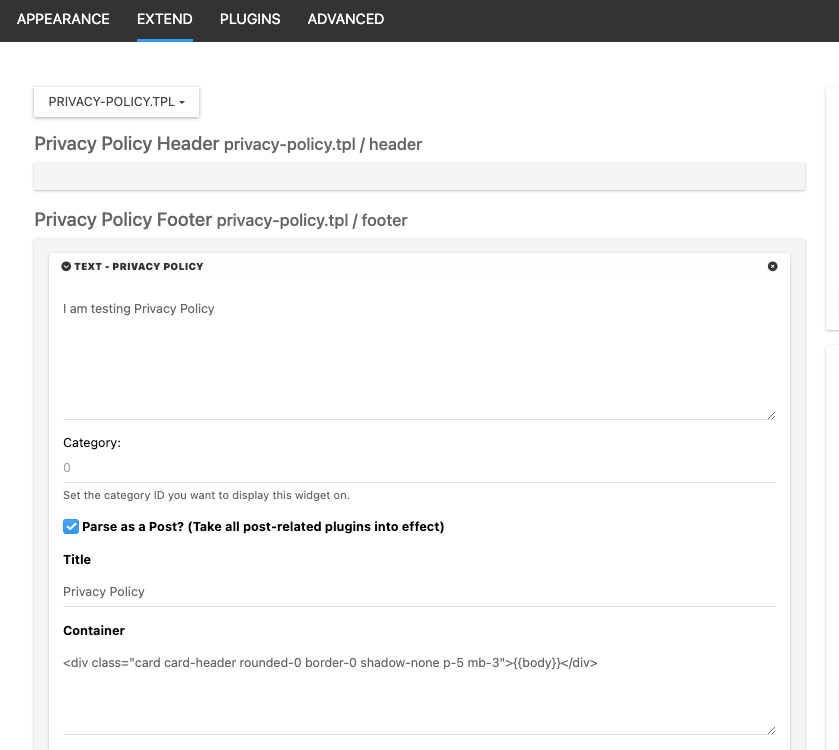
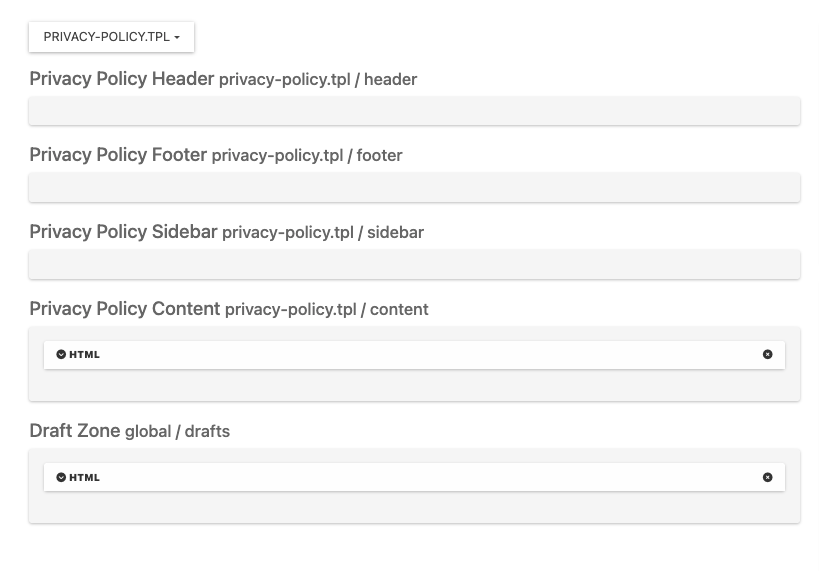
Then, I went to EXTEND > WIDGETS & did the below:
SAVED at both places but nothing has appeared on the footer.
Where am I going wrong? -
@phenomlab Thank you so much yet again! Much appreciated.
How do I now add the pages?
I went to PLUGINS > CUSTOM PAGES & did the below:
Then, I went to EXTEND > WIDGETS & did the below:
SAVED at both places but nothing has appeared on the footer.
Where am I going wrong?@mventures That widget will appear in the page it is created, so

I’d also recommend placing that in the
contentsection (widget) unless you intended for it to be in the footer ?Mark – Founder, Phenomlab Ltd
Executive IT & Security Leadership
Phenomlab Ltd -
@mventures That widget will appear in the page it is created, so
I’d also recommend placing that in the
contentsection (widget) unless you intended for it to be in the footer ?@phenomlab I would like it the way you have it. Is that the CONTENT SECTION you are referring to? How do I place my new pages in the CONTENT SECTION widget? I have done it as below and saved it, but I can’t see it on the page.
-
@phenomlab I would like it the way you have it. Is that the CONTENT SECTION you are referring to? How do I place my new pages in the CONTENT SECTION widget? I have done it as below and saved it, but I can’t see it on the page.
@mventures The privacy policy you see on my site is in fact custom code. The page itself is created the same way, but the running widget is my creation. I’m happy to share the code with you if it’ll help, but it may not operate correctly on your site if you use the v2 version.
Thankfully, I have a v3 version ready to go also, and happy to share that if it helps.
Mark – Founder, Phenomlab Ltd
Executive IT & Security Leadership
Phenomlab Ltd -
@mventures The privacy policy you see on my site is in fact custom code. The page itself is created the same way, but the running widget is my creation. I’m happy to share the code with you if it’ll help, but it may not operate correctly on your site if you use the v2 version.
Thankfully, I have a v3 version ready to go also, and happy to share that if it helps.
OK, I think I have figured out how to place a link in the footer which will click to a new page.
Hello! It looks like you're interested in this conversation, but you don't have an account yet.
Getting fed up of having to scroll through the same posts each visit? When you register for an account, you'll always come back to exactly where you were before, and choose to be notified of new replies (either via email, or push notification). You'll also be able to save bookmarks and upvote posts to show your appreciation to other community members.
With your input, this post could be even better 💗
Register LoginDid this solution help you?
Related Topics
-
-
-
-
-
-
-
restarting nodebb on boot
Unsolved Configure -