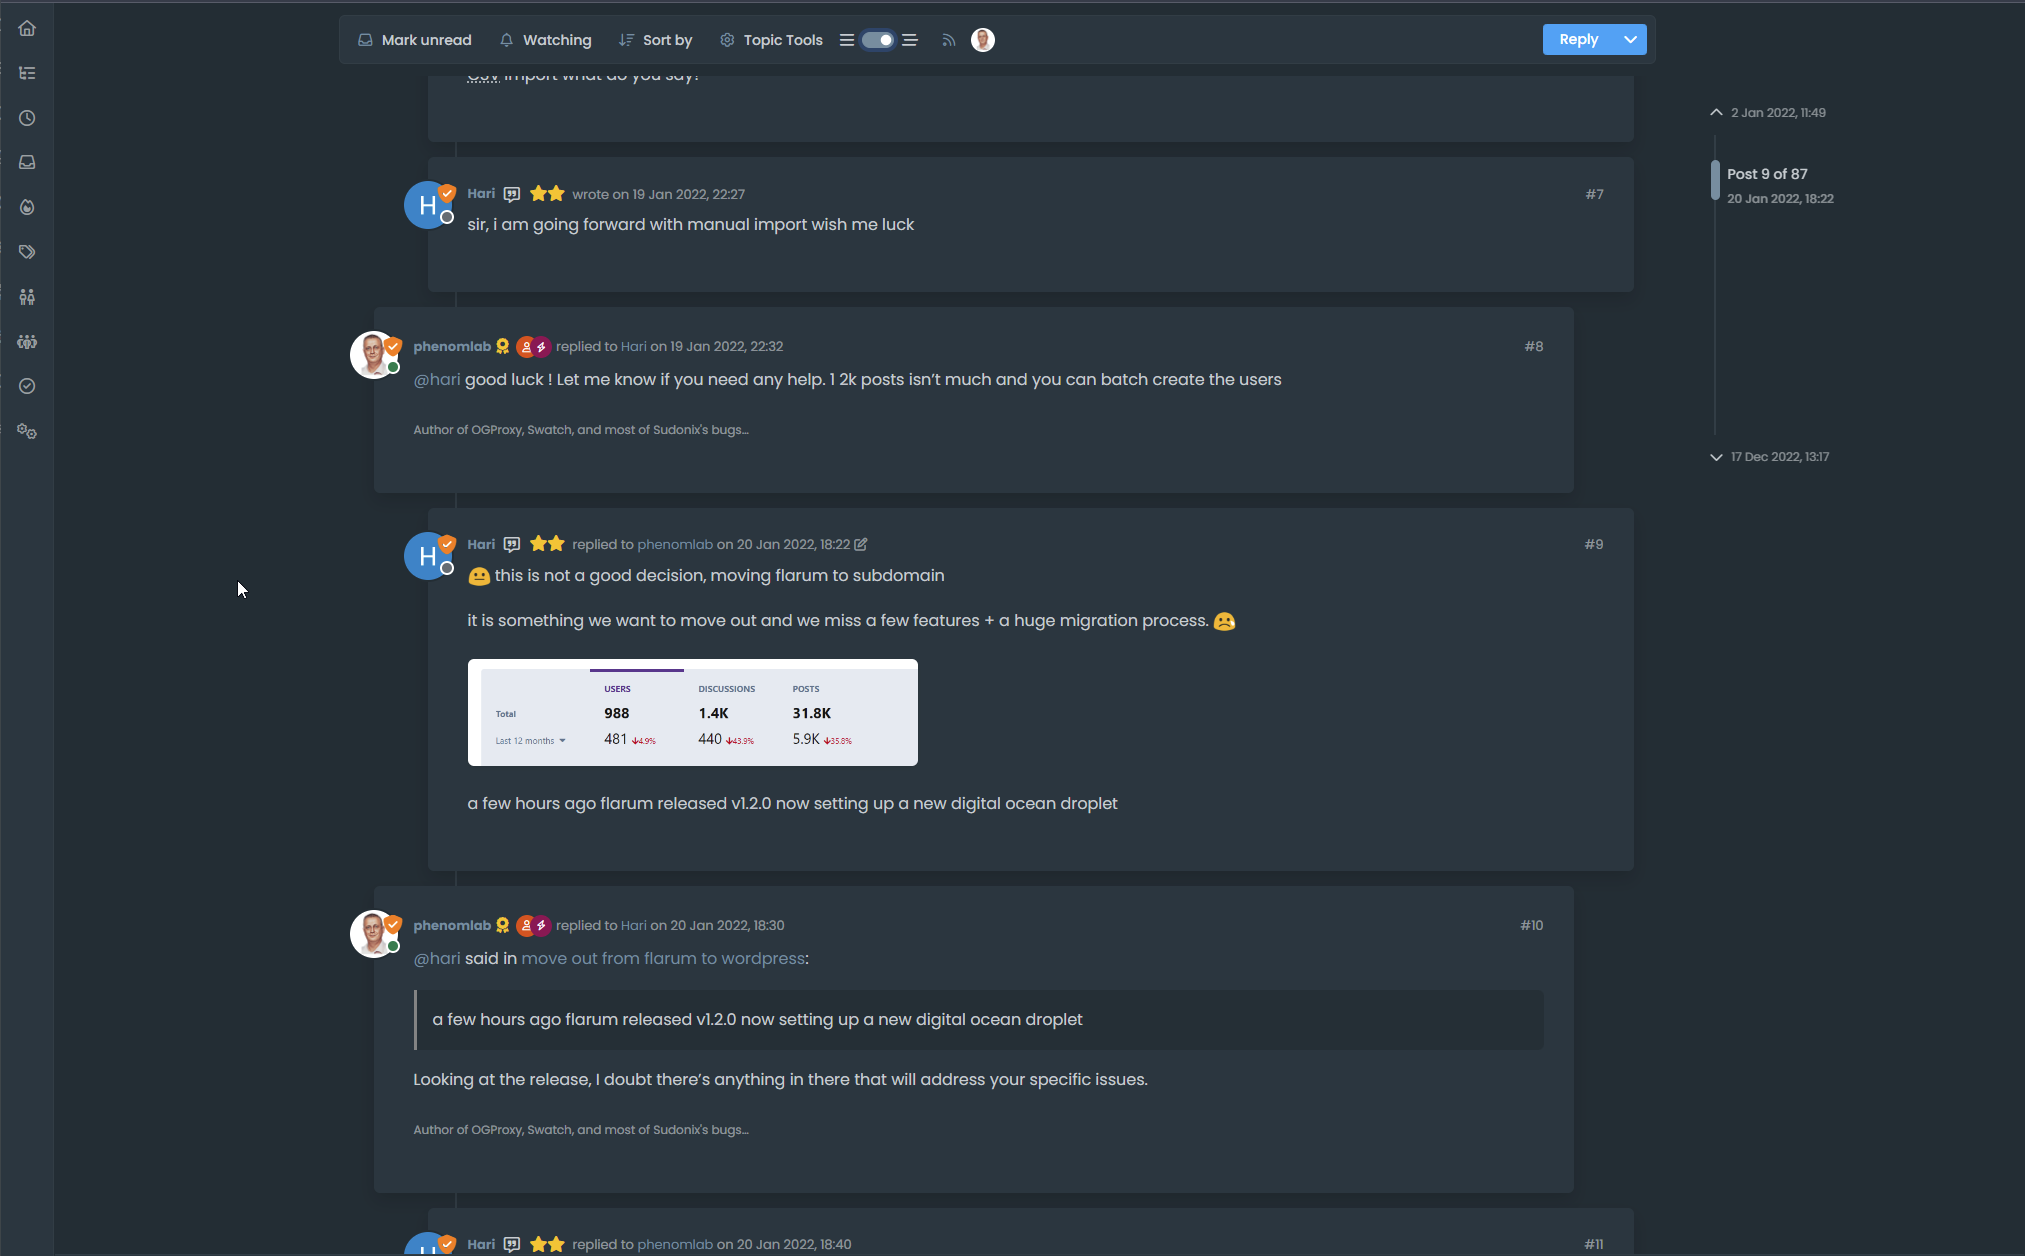
Threaded post support for NodeBB


-
@DownPW looks great.
-
And just modified this for better display (centered)
.threads-wrapper {
    display: flex;
    position: relative;
    /* top: -2px; */
    top: 1px;
}
PW and WS Spirit alive
-
And just modified this for better display (centered)
.threads-wrapper { display: flex; position: relative; /* top: -2px; */ top: 1px; }@DownPW yes, it was styled for this site because it uses heavily modified css.
-
I note, however, that here on Sudonix, our own posts and those of other users are not shifted (to the left). Only those of the author of the topics are.
In the code you provide on Github, the author’s posts and those of others are shifted (to the left), only our own posts are not.
I do not know if it’s normal.
It actually seems logical to me that only our own posts are not shifted to just better identify our own posts
PW and WS Spirit alive
-
I note, however, that here on Sudonix, our own posts and those of other users are not shifted (to the left). Only those of the author of the topics are.
In the code you provide on Github, the author’s posts and those of others are shifted (to the left), only our own posts are not.
I do not know if it’s normal.
It actually seems logical to me that only our own posts are not shifted to just better identify our own posts
@DownPW Correct. The design in DEV and the code on Git reflects the points you raised, which is why it was developed from scratch in DEV and was not a copy of PROD. It’s a matter of personal taste
 You can fairly easily change the cosmetic behavior to suit your needs - it’s not set in stone.
 -
Here I am again Mark @phenomlab

I am contributing to this code to add a tooltip to the button.
The position can be changed according to your wishes.
For my part, I prefer to put it at the bottom because if we put it at the top it can be annoying.Tell me what you think about it ?
function threaded() {
    $(document).ready(function () {
        // Check if the screen width is 1200px or more
        if ($(window).width() >= 1200) {
            // Check if the dropdown already exists
            if ($('#enableThreading').length === 0) {
                var threadView = $('<div class="threads-wrapper"><i class="fa fa-fw fa-bars left"></i><form class="form"><div class="form-check form-switch sticky-tools-bar"> \
                    <input class="form-check-input" id="enableThreading" type="checkbox" data-field="enableThreading"> \
                    <label class=" d-none d-md-inline fw-semibold" for="enableThreading"><i class="fa fa-fw fa-bars-staggered right"></i></label> \
                </div></form></div>');
                $('.topic .sticky-tools ul [component="topic/browsing-users"]:last-of-type').append(threadView);
                // Check if there's a stored state for the checkbox and update it
                var storedState = localStorage.getItem('enableThreadingState');
                if (storedState === 'true') {
                    $('#enableThreading').prop('checked', true);
                }
            }

            // Add a tooltip to the button
            $('#enableThreading').tooltip({
                title: 'Thread View On/Off', // Replace with your tooltip text
                placement: 'Bottom', // Adjust the placement as needed
                trigger: 'hover', // Show tooltip on hover
            });

            // Toggle the class 'threaded' on or off when the checkbox changes state
            $('#enableThreading').on('change', function () {
                var isChecked = $(this).is(':checked');
                if (isChecked) {
                    console.log('Thread view is active.');
                    $('ul[component="topic"]').addClass('threaded');
                    $('.posts-container').addClass('threaded');
                    $('ul[component="topic"]').addClass('threaded');
                    $('.post-container').addClass('threaded');
                    $('.timeline-event').addClass('threaded');
                    $('[component="post/footer"]').addClass('threaded');
                    $('[component="post"]').each(function () {
                        // Add the 'threaded' class to matching elements
                        if ($(this).hasClass('pt-4') || $(this).hasClass('self-post')) {
                            $(this).addClass('threaded');
                            $('.topic .sticky-tools').addClass('threaded');
                        }
                    });
                } else {
                    console.log('Thread view is inactive.');
                    $('[component="post"]').removeClass('threaded');
                    $('ul[component="topic"]').removeClass('threaded');
                    $('.posts-container').removeClass('threaded');
                    $('ul[component="topic"]').removeClass('threaded');
                    $('.post-container').removeClass('threaded');
                    $('.timeline-event').removeClass('threaded');
                    $('[component="post/footer"]').removeClass('threaded');
                    $('.topic .sticky-tools').removeClass('threaded');
                }
                // Store the checkbox state in localStorage
                localStorage.setItem('enableThreadingState', isChecked);
            });
            // Check for changes in the checkbox state when the page loads
            $('#enableThreading').trigger('change');
        }
    });
}

$(window).on('action:ajaxify.end', function (data) {
    threaded();
});

$(window).on('action:posts.edited', function (data) {
    threaded();
});

$(window).on('action:posts.loaded', function (data) {
    threaded();
});
CYA my friend
@DownPW Maybe go one better perhaps, and toggle the on/off state depending on the switch selection (I’m doing that here)
https://github.com/phenomlab/nodebb-harmony-threading/blob/main/functions%2Cjs
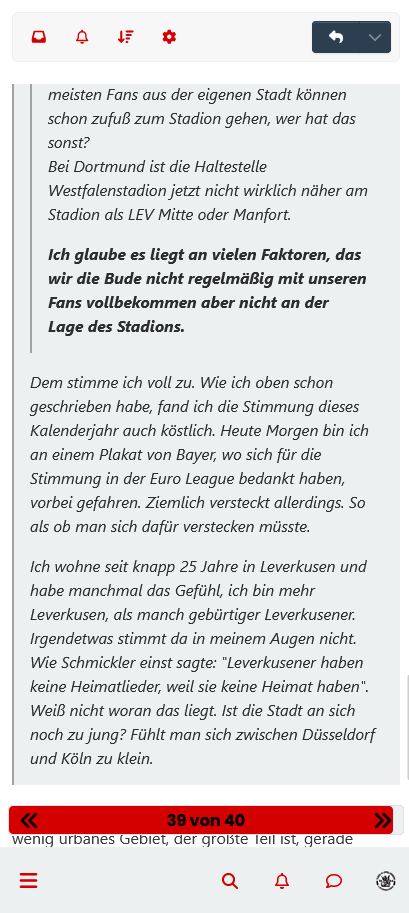
Enabled
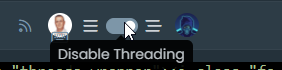
Disabled

-
-
-
this code does not work for me. No button
EDIT:
The code on github is OK, not the last share above
PW and WS Spirit alive
-
this code does not work for me. No button
EDIT:
The code on github is OK, not the last share above
@DownPW said in Threading support for NodeBB:
The code on github is OK, not the last share above
Sorry - changed that to the Git link
-
Just don’t forget to comment out lines for browsing-users plugin
I’m got screwed
Good work my friend
PW and WS Spirit alive
-
Just don’t forget to comment out lines for browsing-users plugin
I’m got screwed
Good work my friend
@DownPW This part?
$('.topic .sticky-tools ul .hidden-xs').append(threadView);
// If you have browsing users plugin, comment out the above line and uncomment the one below
//$('.topic .sticky-tools ul [component="topic/browsing-users"]:last-of-type').append(threadView);
Yes, I need to fix that! Thanks for the reminder.
-
For anyone else browsing here who has tried the code in
gitbut wants it to look exactly like Sudonix, please note that this code is not public because it is heavily adapted to match the layout of this site. There are some Sudonix “clones” around so you can actually have this code if you really want it, but it comes with some conditions;- You should consider buying me a coffee - see “Buy me a Coffee” link
- You have to provide a backlink to this site from your own - it needs to be visible and cannot be hidden - obviously, I can’t (and won’t) make you do this, but it’s courteous to recognize the original author - particularly when hundreds of hours were spent creating all of this eye candy
-
Hello @phenomlab
I see this, when someone composes, it is displayed via the plugin like this (To the left of the Thread View button.). I do not know if it’s normal or if it is better to put it on the right like the others ?
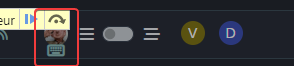
or myself for example :

PW and WS Spirit alive
-
Hello @phenomlab
I see this, when someone composes, it is displayed via the plugin like this (To the left of the Thread View button.). I do not know if it’s normal or if it is better to put it on the right like the others ?
or myself for example :
@DownPW Mmmm - I thought that this would happen. In your
jsfunction, can you locate this line$('.topic .sticky-tools ul .hidden-xs').append(threadView);Replace it with
$('.topic .sticky-tools ul.list-unstyled').append(threadView);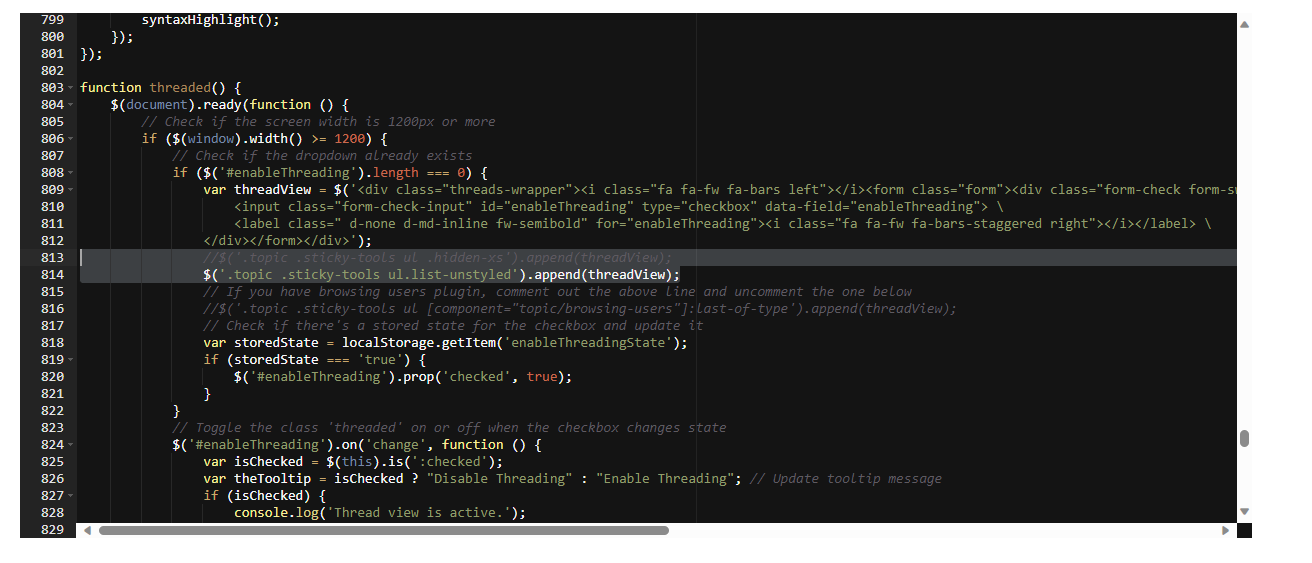
The issue here is that the
hidden-xsclass is being manipulated byjswhich forces the position and does not userelative. This new code should hopefully work around that. It will change the placement of the threaded toggle, but for the better I think. If this works, I’ll commit the code togit -
I don’t use this line, I commented out this line as stipulated in the script
$('.topic .sticky-tools ul .hidden-xs').append(threadView);But use this line :
$('.topic .sticky-tools ul [component="topic/browsing-users"]:last-of-type').append(threadView);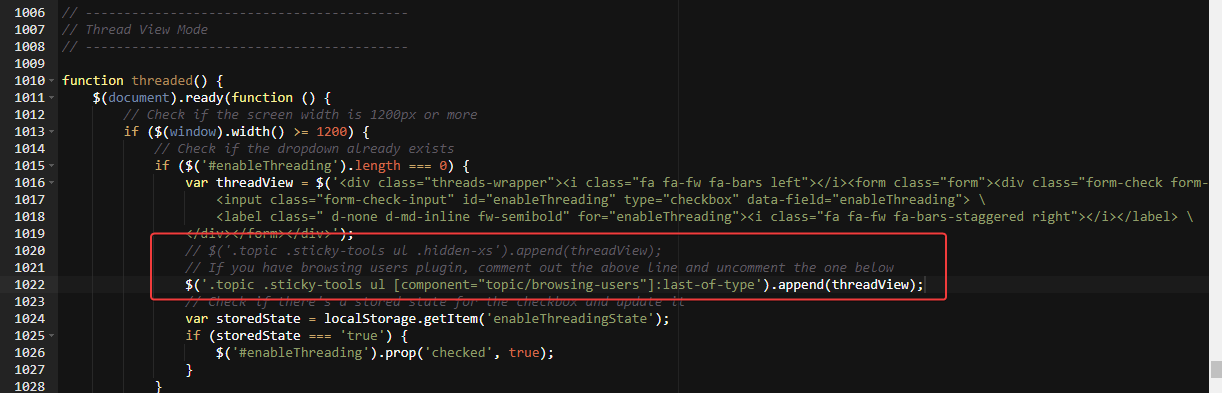
maybe change for this ?
$('.topic .sticky-tools ul.list-unstyled [component="topic/browsing-users"]:last-of-type').append(threadView);PW and WS Spirit alive
-
I don’t use this line, I commented out this line as stipulated in the script
$('.topic .sticky-tools ul .hidden-xs').append(threadView);But use this line :
$('.topic .sticky-tools ul [component="topic/browsing-users"]:last-of-type').append(threadView);maybe change for this ?
$('.topic .sticky-tools ul.list-unstyled [component="topic/browsing-users"]:last-of-type').append(threadView);@DownPW sorry, use this one.
$('.topic .sticky-tools ul.list-unstyled').append(threadView);Replace any existing line
-

With this code the entire plugin is now displayed to the left of the Thread View button. I even think I prefer the way it was before.
I find it more logical that all users are displayed to the right of the button and not to the left.PW and WS Spirit alive
-
With this code the entire plugin is now displayed to the left of the Thread View button. I even think I prefer the way it was before.
I find it more logical that all users are displayed to the right of the button and not to the left.@DownPW up to you of course but the browsing users plugin makes several adjustments to element positioning, and without moving the threading toggle outside of that, you’ll always have the issue where the composing user appears on the left because under the old code, the threading toggle shares the same space which causes the alignment issue.
Moving outside of that div is the only way to resolve the issue. There is another way which is to append the topic tools element but that then means that users without adequate permissions will not be able to use the threading toggle at all.
-
PW and WS Spirit alive



Hello! It looks like you're interested in this conversation, but you don't have an account yet.
Getting fed up of having to scroll through the same posts each visit? When you register for an account, you'll always come back to exactly where you were before, and choose to be notified of new replies (either via email, or push notification). You'll also be able to save bookmarks and upvote posts to show your appreciation to other community members.
With your input, this post could be even better 💗
Register LoginRelated Topics
-
-
-
-
-
-
-
NodeBB: Consent page
Solved Configure -